
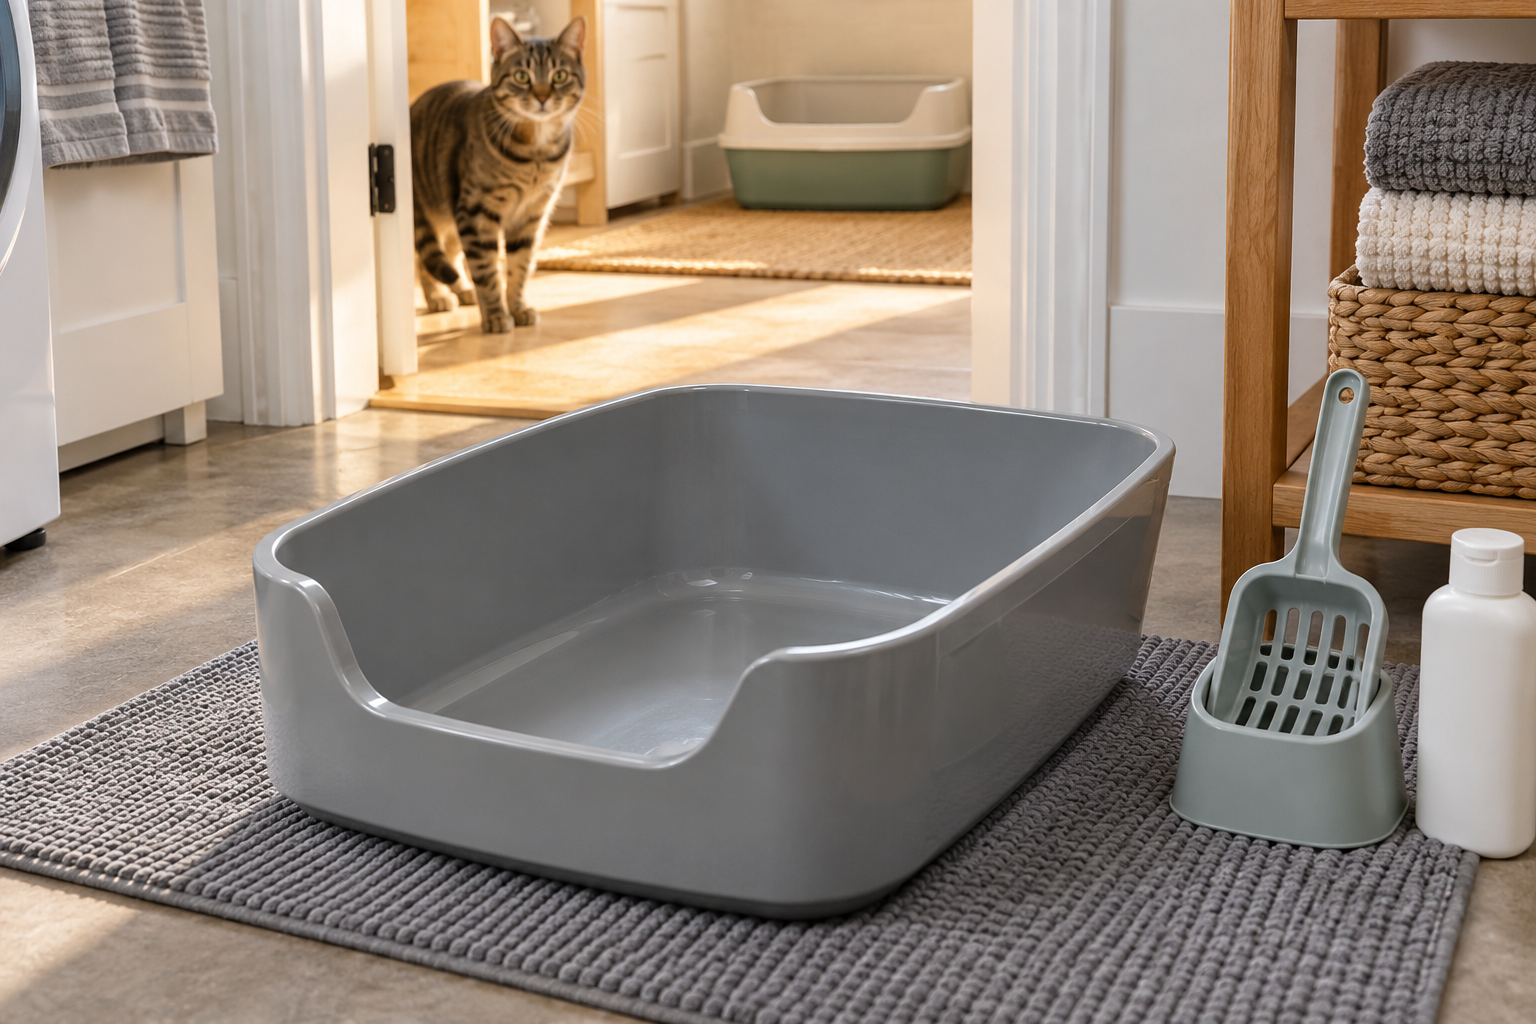
A litter box can look freshly topped up while the tray underneath still needs washing. Treat scooping and a full wash as two separate jobs: remove waste during the day, then empty and clean the tray on a regular schedule.
This guide covers an ordinary washable litter tray. For an automatic box, follow the exact manufacturer’s instructions; do not immerse a motor, sensor or electrical base. If your vet has prescribed an infection-control routine, use that advice instead of this everyday cleaning plan.
Quick Answer
- Prepare a waste bag before emptying the tray. Keep another clean tray available if possible.
- Wash the empty tray and rinse off cleaner.
- Dry the corners before refilling.
- Wash your hands. If your cat repeatedly strains and passes little or no urine, seek emergency veterinary care immediately.
What You’ll Need
- A scoop, waste bag and somewhere to put the used litter.
- A tray-safe unscented cleaner, rinse water, a way to dry the tray and familiar fresh litter.
TailSprig Living · Amazon Idea List
My recommendations for the floor around the litter tray
Leave enough room beside the tray for a scoop and a small brush. The Pet Cleaning Essentials list includes a large blue metal sifter, an OXO dustpan and a grey Pieviev litter mat. Use a mat only where it leaves your cat’s approach clear.
Affiliate link. As an Amazon Associate I earn from qualifying purchases.
See litter cleanup tools on AmazonSet up before you empty the tray
Have fresh familiar litter, a waste bag, a scoop, mild unscented dish soap and dedicated cleaning tools ready. Keep these tools separate from equipment used for preparing food.
Leave another suitable litter box available while this one is being washed and dried. In a home with several trays, clean them one at a time. This avoids turning a cleaning job into a period with no toilet access. Our litter-box placement guide covers access routes and locations; here the focus is the cleaning routine.
Keep your cat away from the washing area and cleaning products. Do not put them into a newly filled tray to test it.
Scoop regularly and notice changes
Remove feces and soiled litter rather than covering them with another layer. With clumping litter, lift out the clumps; other litter types have different replacement instructions. Follow the litter maker’s guidance as well as checking the tray’s actual condition.
Cats Protection recommends removing urine and feces twice daily, with more frequent attention for cats who will not use a soiled tray. It also recommends a complete wash at least weekly; hooded trays may need washing more often. The calendar is a reminder, not a reason to leave a visibly dirty tray unchanged.
Take a moment to notice what is different: much larger clumps, repeated tiny deposits, diarrhea or no apparent use. A clean tray can help you spot a change, but it cannot tell you its cause.
Empty, wash, rinse and dry
- Empty the used litter into a waste bag. Follow local disposal rules. Do not put litter or cat waste down the toilet; the Scottish SPCA’s litter guidance recommends bagging waste for the bin.
- Wash the empty tray. Use hot water you can handle safely and mild, unscented dish soap appropriate for the tray material. Clean the corners and edges as well as the base. Battersea recommends mild unscented dish soap for a weekly tray wash.
- Rinse thoroughly with clean water. Remove the washing solution rather than leaving a scented coating. Do not add a second cleaner to the first.
- Dry the tray before refilling. Check the corners and underside too. Cats Protection’s cat-care booklet includes thorough rinsing and drying in its tray-care instructions.
- Refill and return it to its usual place. Use a suitable depth of the litter your cat already accepts, following the litter instructions. Avoid changing the litter, location and tray style during the same routine wash.
Clean the scoop and dedicated washing tools as well, following their care instructions. Let them dry and store them away from food and children’s reach. Wash your hands with soap and water after finishing.
Keep the cleaner simple
For routine cleaning, a strong fragrance is not a benefit. Battersea advises avoiding strongly scented cleaners and disinfectants such as bleach because they can put cats off the tray. Cats Protection also advises against scented litter.
Do not improvise a disinfectant recipe or mix household cleaning products. A tray that needs disinfection after illness is a different task: ask your veterinary team which product, dilution, contact time and rinsing procedure are appropriate for the infection and tray material.
If the tray is cracked or broken, replace it. If you cannot remove residue or persistent odor, check its condition and the maker’s cleaning advice rather than adding more perfume.
Using a DuraScoop you already own
The original product card below is an affiliate link. TailSprig may earn a commission if you buy through it.
If you already have the metal DuraScoop Premium Multicat scoop, check whether its edge reaches into your tray’s corners. The product card identifies the original metal model. Its handle can come in different colors.
If small fragments fall through the slots, change the scooping angle or use another suitable scoop for those pieces. Wash the tray separately when it is due for a full clean.
We have not personally tested this product. A suitable scoop you already own may be enough. Buying a different scoop does not replace emptying and washing the tray.

Hygiene and signs that need help
The CDC recommends daily litter-box cleaning and handwashing as part of reducing exposure to toxoplasmosis. Its guidance for people at increased risk advises pregnant people and those with weakened immune systems to have someone else handle litter if possible. Discuss your situation with your healthcare professional. If you must do it yourself, use disposable gloves and wash your hands afterward.
A cat repeatedly trying to urinate, straining or producing little or no urine needs immediate veterinary attention. Cornell explains that a urethral blockage is an emergency. Do not wait to see whether a freshly washed tray fixes it. Other sudden changes in toileting, appetite or comfort also deserve a veterinary check.
For a newly adopted cat in a quiet first room, keep the same daily checks while allowing a safe hiding choice. Cleaning should make care more predictable, not become a reason to pull a hidden cat out.
AI illustration of a generic litter-box cleaning setup. This article contains an optional affiliate product.
Printable litter tray cleaning checklist
- Waste bag and scoop ready
- Tray rinsed
- Corners dry
- Fresh litter added and hands washed
Frequently asked questions
Do I clean an automatic box the same way?
Use the exact model’s instructions. Keep motors and electrical components out of wash water.
Can I combine two cleaners?
Use a suitable cleaner as directed. Mixing household cleaners can be dangerous.
When should I refill the tray?
After rinsing, check that the base and corners are dry before adding litter.
What if a vet has given infection-control instructions?
Use that plan and clarify the product, dilution, contact time and rinsing for your tray.
Leave a Reply